How to Create Discovery Pattern Extensions and Why to Use Them
What is a discovery pattern extension
A pattern extension provides the ability to modify a pattern without customizing it. No more dreaded “Skipped Updates” to review during upgrades. Extensions can even be used to add connections for service mapping, just make sure you check that pattern_runtime_mode variable to not run for horizontal to discovery.
Important: At least one identification section needs to succeed in order for extensions to run. In the case where no identification sections are passing, you need to evaluate whether a new pattern is needed or to modify the existing one. If it is a minor change, I would personally customize the identification section and document the change. This will make it easier to evaluate future skipped updates.
How to build an extension and deploy
The scenario
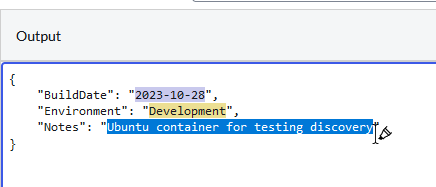
In this scenario, the server team deploys a JSON file as part of the build process. We want to parse this file to populate some additional information on the CI.
Example File:
{
    "BuildDate": "2023-10-28",
    "Environment": "Development",
    "Notes": "Ubuntu container for testing discovery"
}
Create the new Extension
-
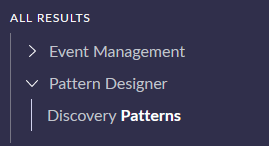
Go to Pattern Designer - Discovery patterns in the navigator
-
Search for Linux Server and open.

-
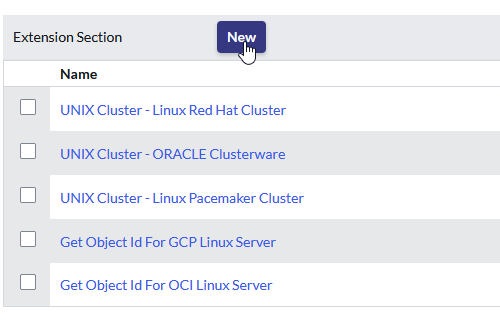
Click on the New button in the extension section.
-
Type a descriptive name and click done.
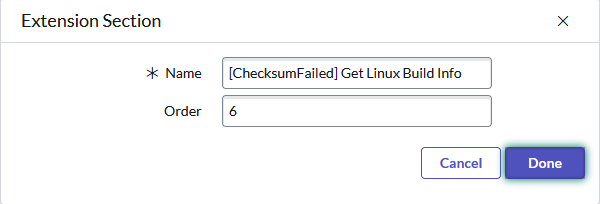 Note: ServiceNow will automatically increment the order. Order is important with extensions. Extensions will run in order and the last to run will win if there are any conflicting values. I want the values from our custom extension to always populate, so I am leaving the order as is.
 -
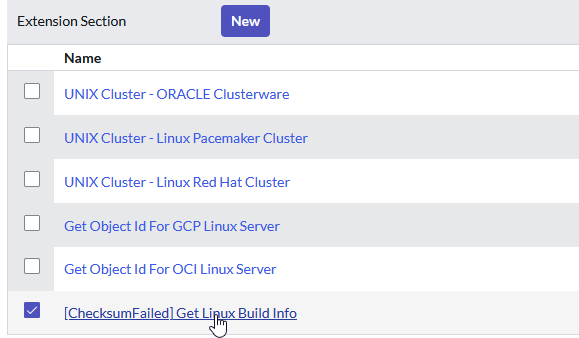
Click on the newly created extension to launch pattern designer
Build out the steps of the new extension
-
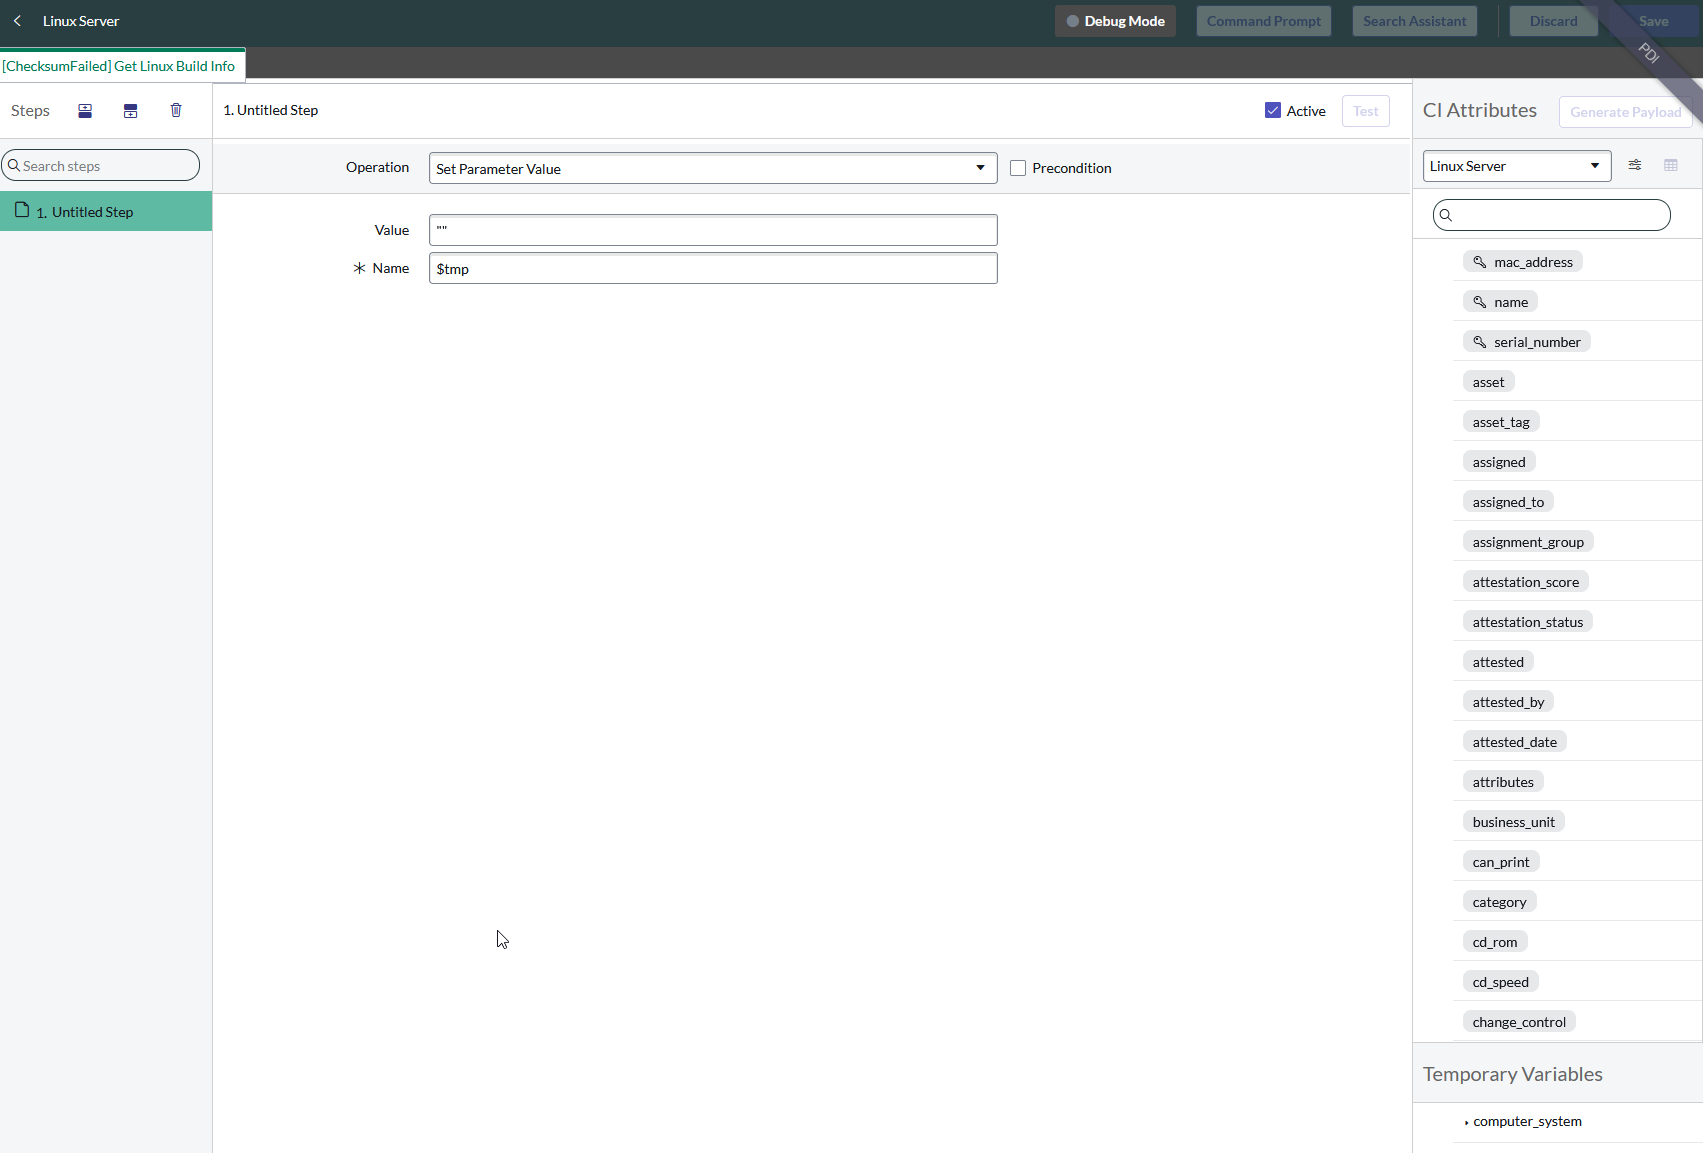
You should now be greeted by pattern designer and an untitled step.
-
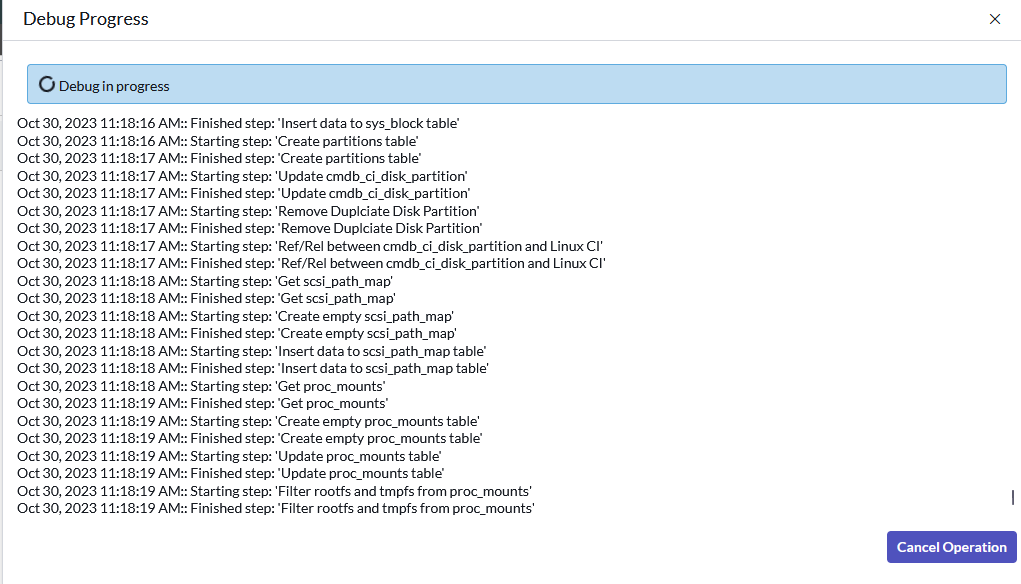
Click the Debug button and populate the ip address of a server to test with. If needed modify the mid server selection. Click connect and wait for the identification and lower order extension sections to run.

-
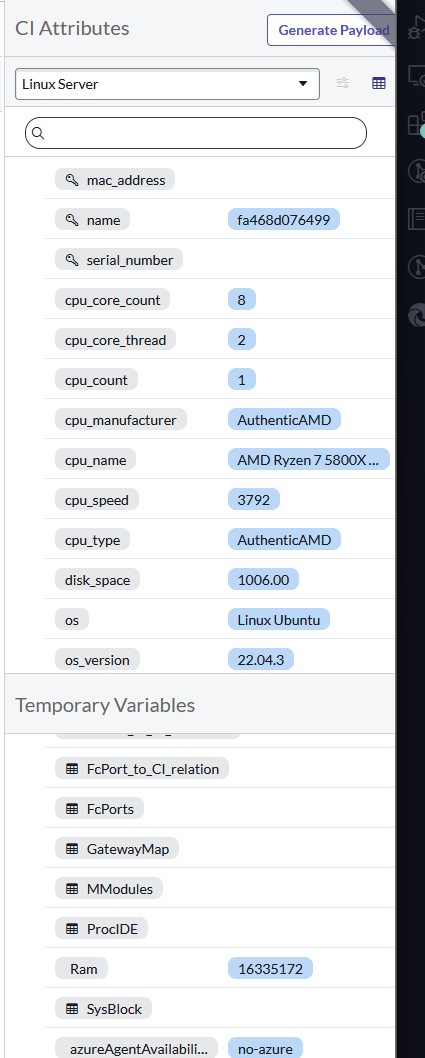
Once debugging is complete, You should see CI Attributes populated and temporary variables from previous identification sections and extensions.
-
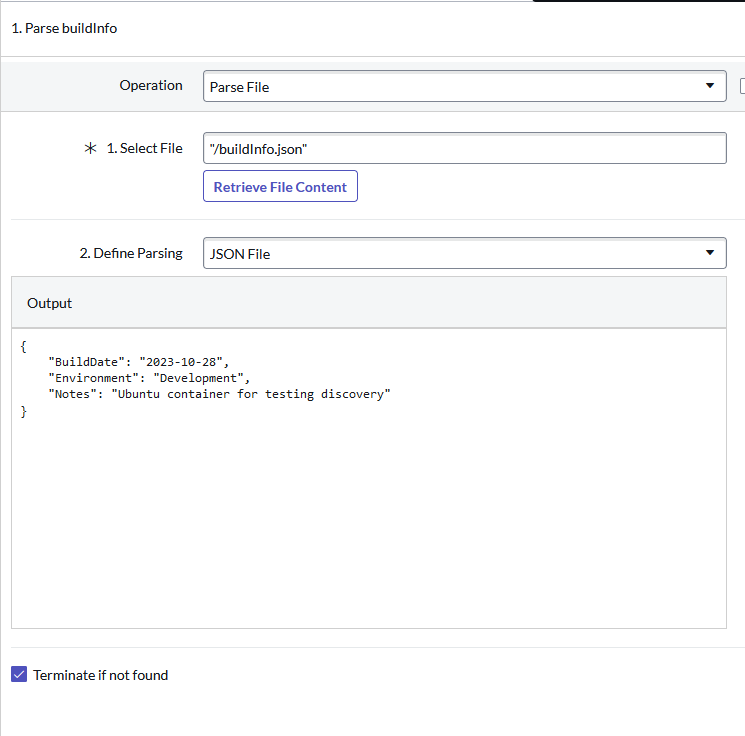
Lets change the operation of the first step to Parse File, set the file location, set the parsing strategy to JSON, and terminate the extension if not found. Also rename the step to something descriptive
-
Click the **Retrieve File Content" button and let’s start parsing. The easiest way is to select the text you want to match on, then you will be prompted for the variable name. Make sure you remember to change the table name from Table_Name to something more descriptive.
-
Now that we have defined our table, let’s click test and verify everything is working.

-
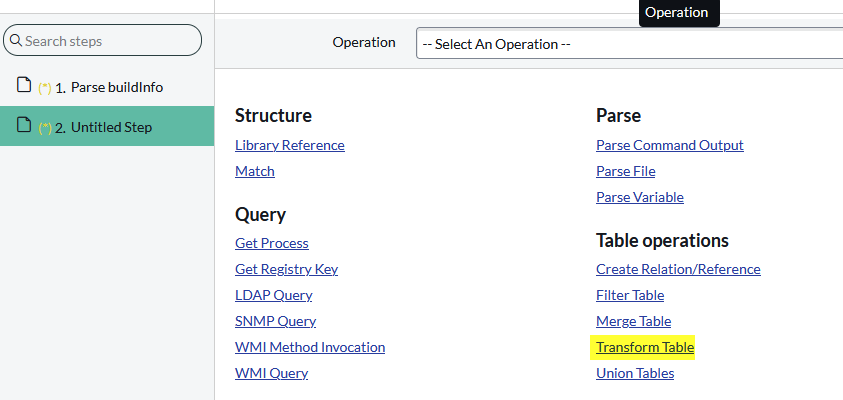
Lets add a new step so we can use this data. Select Transform Table so we can update the values of the Linux Server with our parsed values. Remember to rename the step to something descriptive.
-
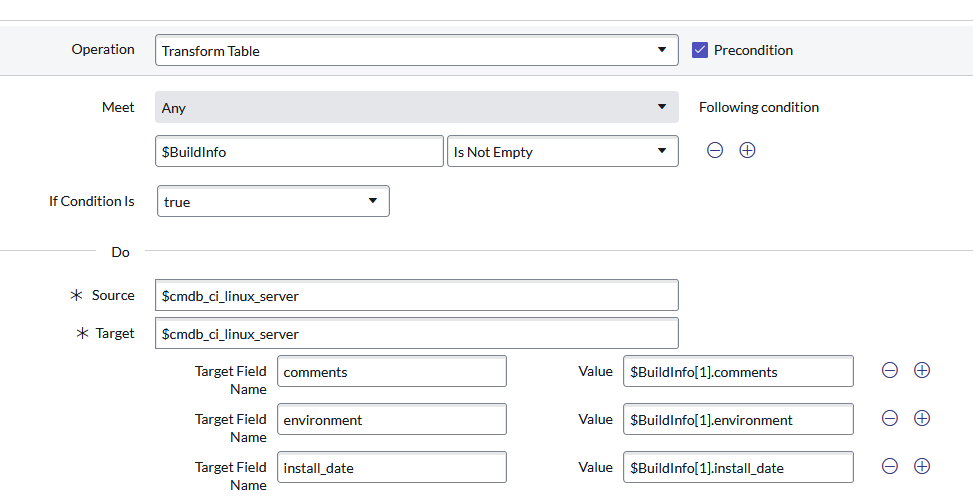
Add a PreConditon that $BuildInfo is not empty. Set the source and target to our target CMDB table(Linux Server) and start populating data. All variables start with the $ sign and you should see autocomplete values to make this process easier.
-
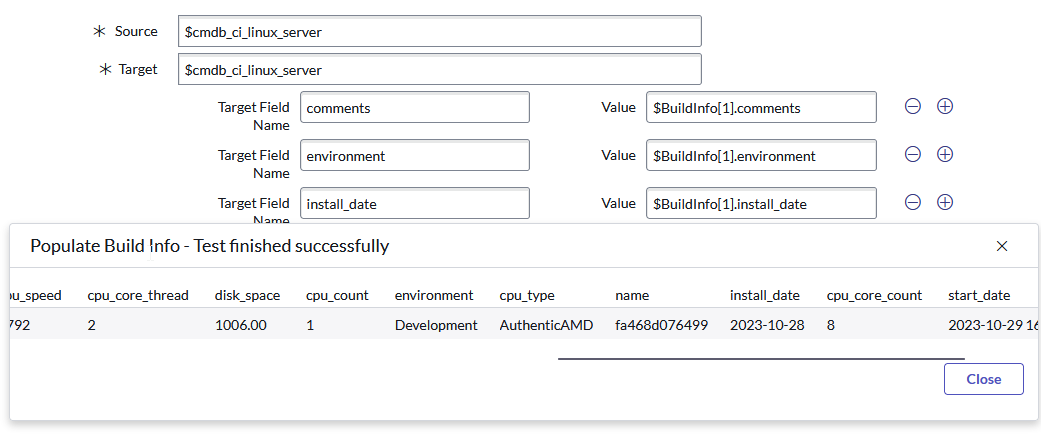
Once done click Test and let’s validate our results.
-
Now that everything looks good, lets Save
-
To ensure our pattern update is synced to the mid servers, go to Mid Servers - Servers and then click on the “Pattern Sync to Mid” button. You can check the status of the sync by looking at the ECC Queue

Validating all our hard work
Now it’s time to see the new extension in action by running discovery on an endpoint.
-
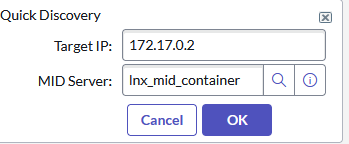
Go to Discovery - Schedules and click the Quick Discovery button

-
Populate the ip of a hostname that should be discoverable and the correct mid server. Click ok to run.
-
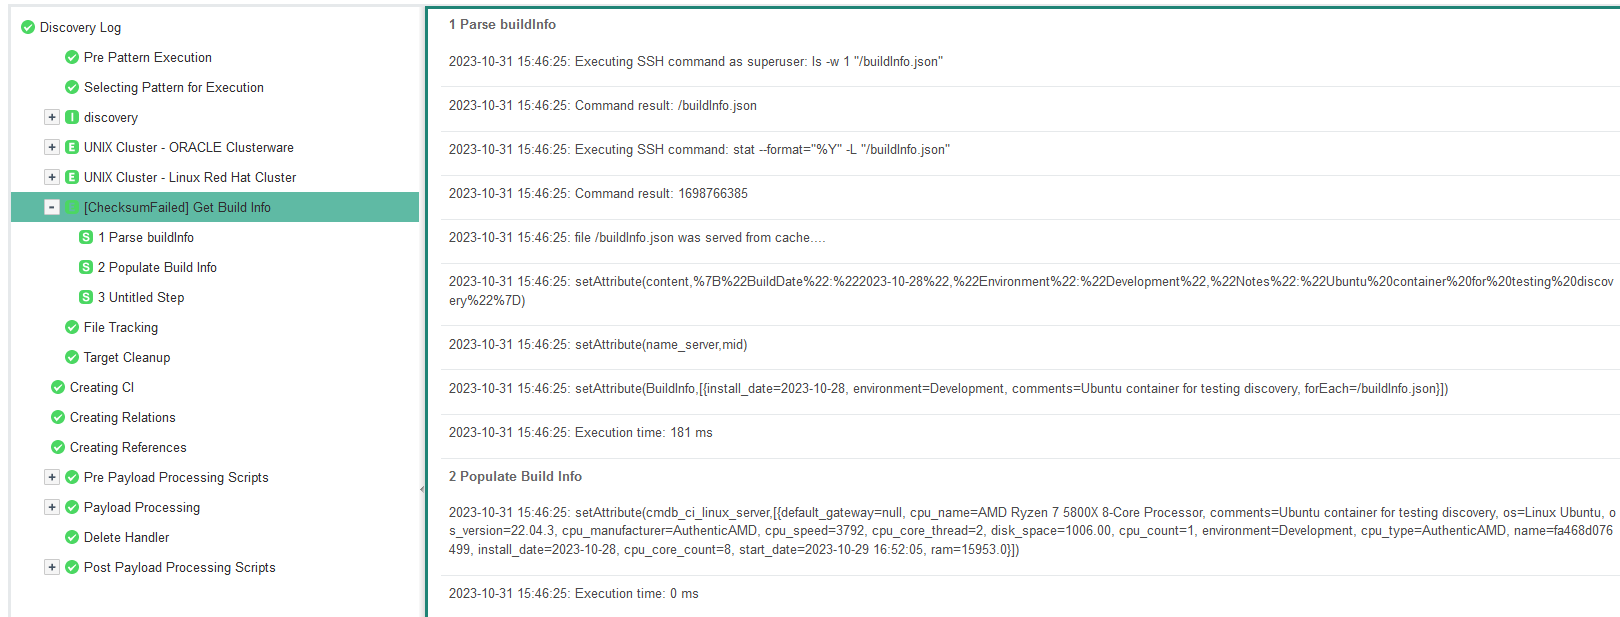
Open the new discovery status and wait for the discovery to be completed. Go to the Discovery Log tab and find an item with the message Exploring CI Pattern, Pattern name: Linux Server, To Check Pattern Log Press Here. Find the extension on the left and click on it. You should now see logs from the execution. If there was an error, you could use the debug button top right to troubleshoot.
-
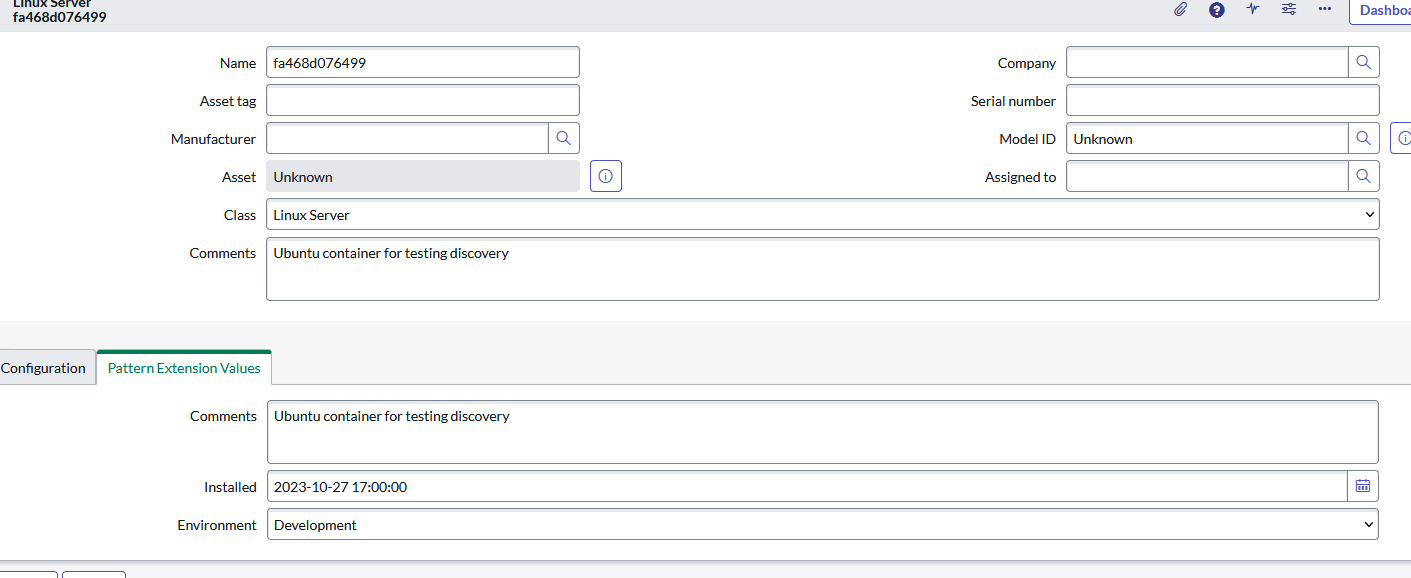
Close the Pattern Log and go to the *Devices tab. Click on the link to the discovered configuration item. These fields are not on the form by default, so you need to show xml or add them. I added a section for illustration purposes.
Closing Thoughts
This is a very simple example of an extension. Discovery patterns and extensions can become quite complex and may include items such as pre/post processing scripts. Hopefully this helps and I’ve included some helpful links below.
Helpful Links
- Modify Patterns using extensions
- File parsing Strategies
- Using Javascript for accessing advanced operations in Pattern Designer
- Examples of EVAL scripts used in Discovery patterns
- Using Pre/Post Processing Scripts to handle reference fields via Discovery Pattern
- Patterns Pr Post Scripts - Purpose and Usecases
- How to Debug Pre Post Scripts - Patterns