Installing a Mid Server on Windows
Installing a Mid Server on Windows
1. Create an mid user on your instance
Create a user account and grant it the mid_server role
2. Create a service account or identify an existing account that can be used
Example of creating a local account for the mid server. Note: local admin is not required if the account has appropriate permissions on the system.
- net user /add svc_mid aR3allyS3cureP@ssword
- net localgroup administrators /add svc_mid
2. Download the installer to your Mid Server
Navigate to the following, replacing with your instance url
https://
Alternatively, once you have the link to the installer. You can download from powershell on the mid server with a command simliar to the following.
Start-BitsTransfer https://install.service-now.com/glide/distribution/builds/package/mid-windows-installer/2021/01/15/mid-windows-installer.quebec-12-09-2020__patch0-hotfix2-01-08-2021_01-15-2021_1853.windows.x86-64.msi
3. Run the installer
I am assuming basic authentication.
-
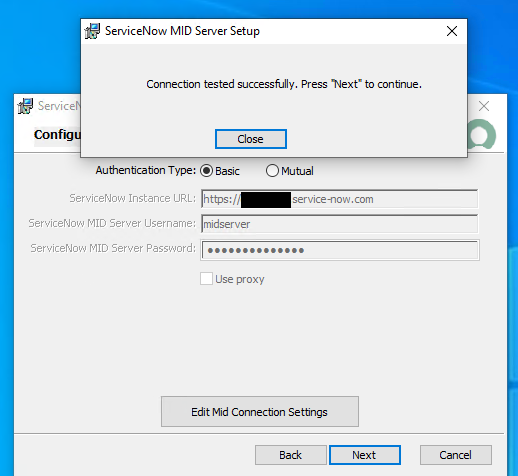
Validate the instance and Mid Server credentials from step 1

-
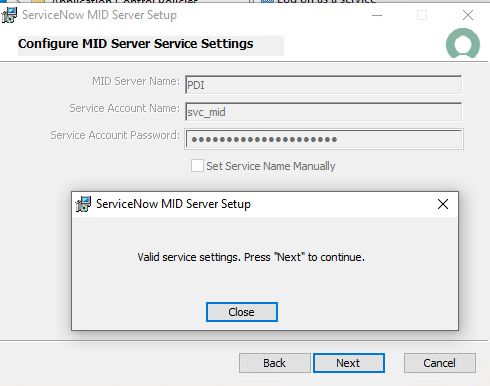
Name your mid server and enter the credentials from step 2

-
Set Install path and follow the rest of the prompts.
-
Start Mid Server, if not started
4. Validate Mid Server
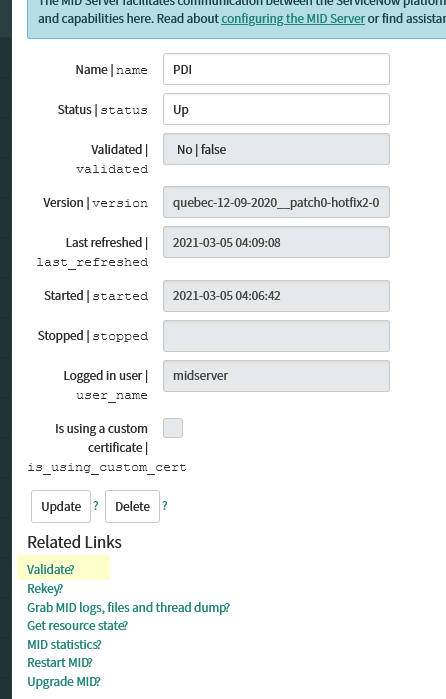
- Navigate to Mid Servers - Servers and find your new Mid Server

- Open the record of your new PDI. Find the Validate related link.

In a few minutes, your mid server should be validated and ready for use.